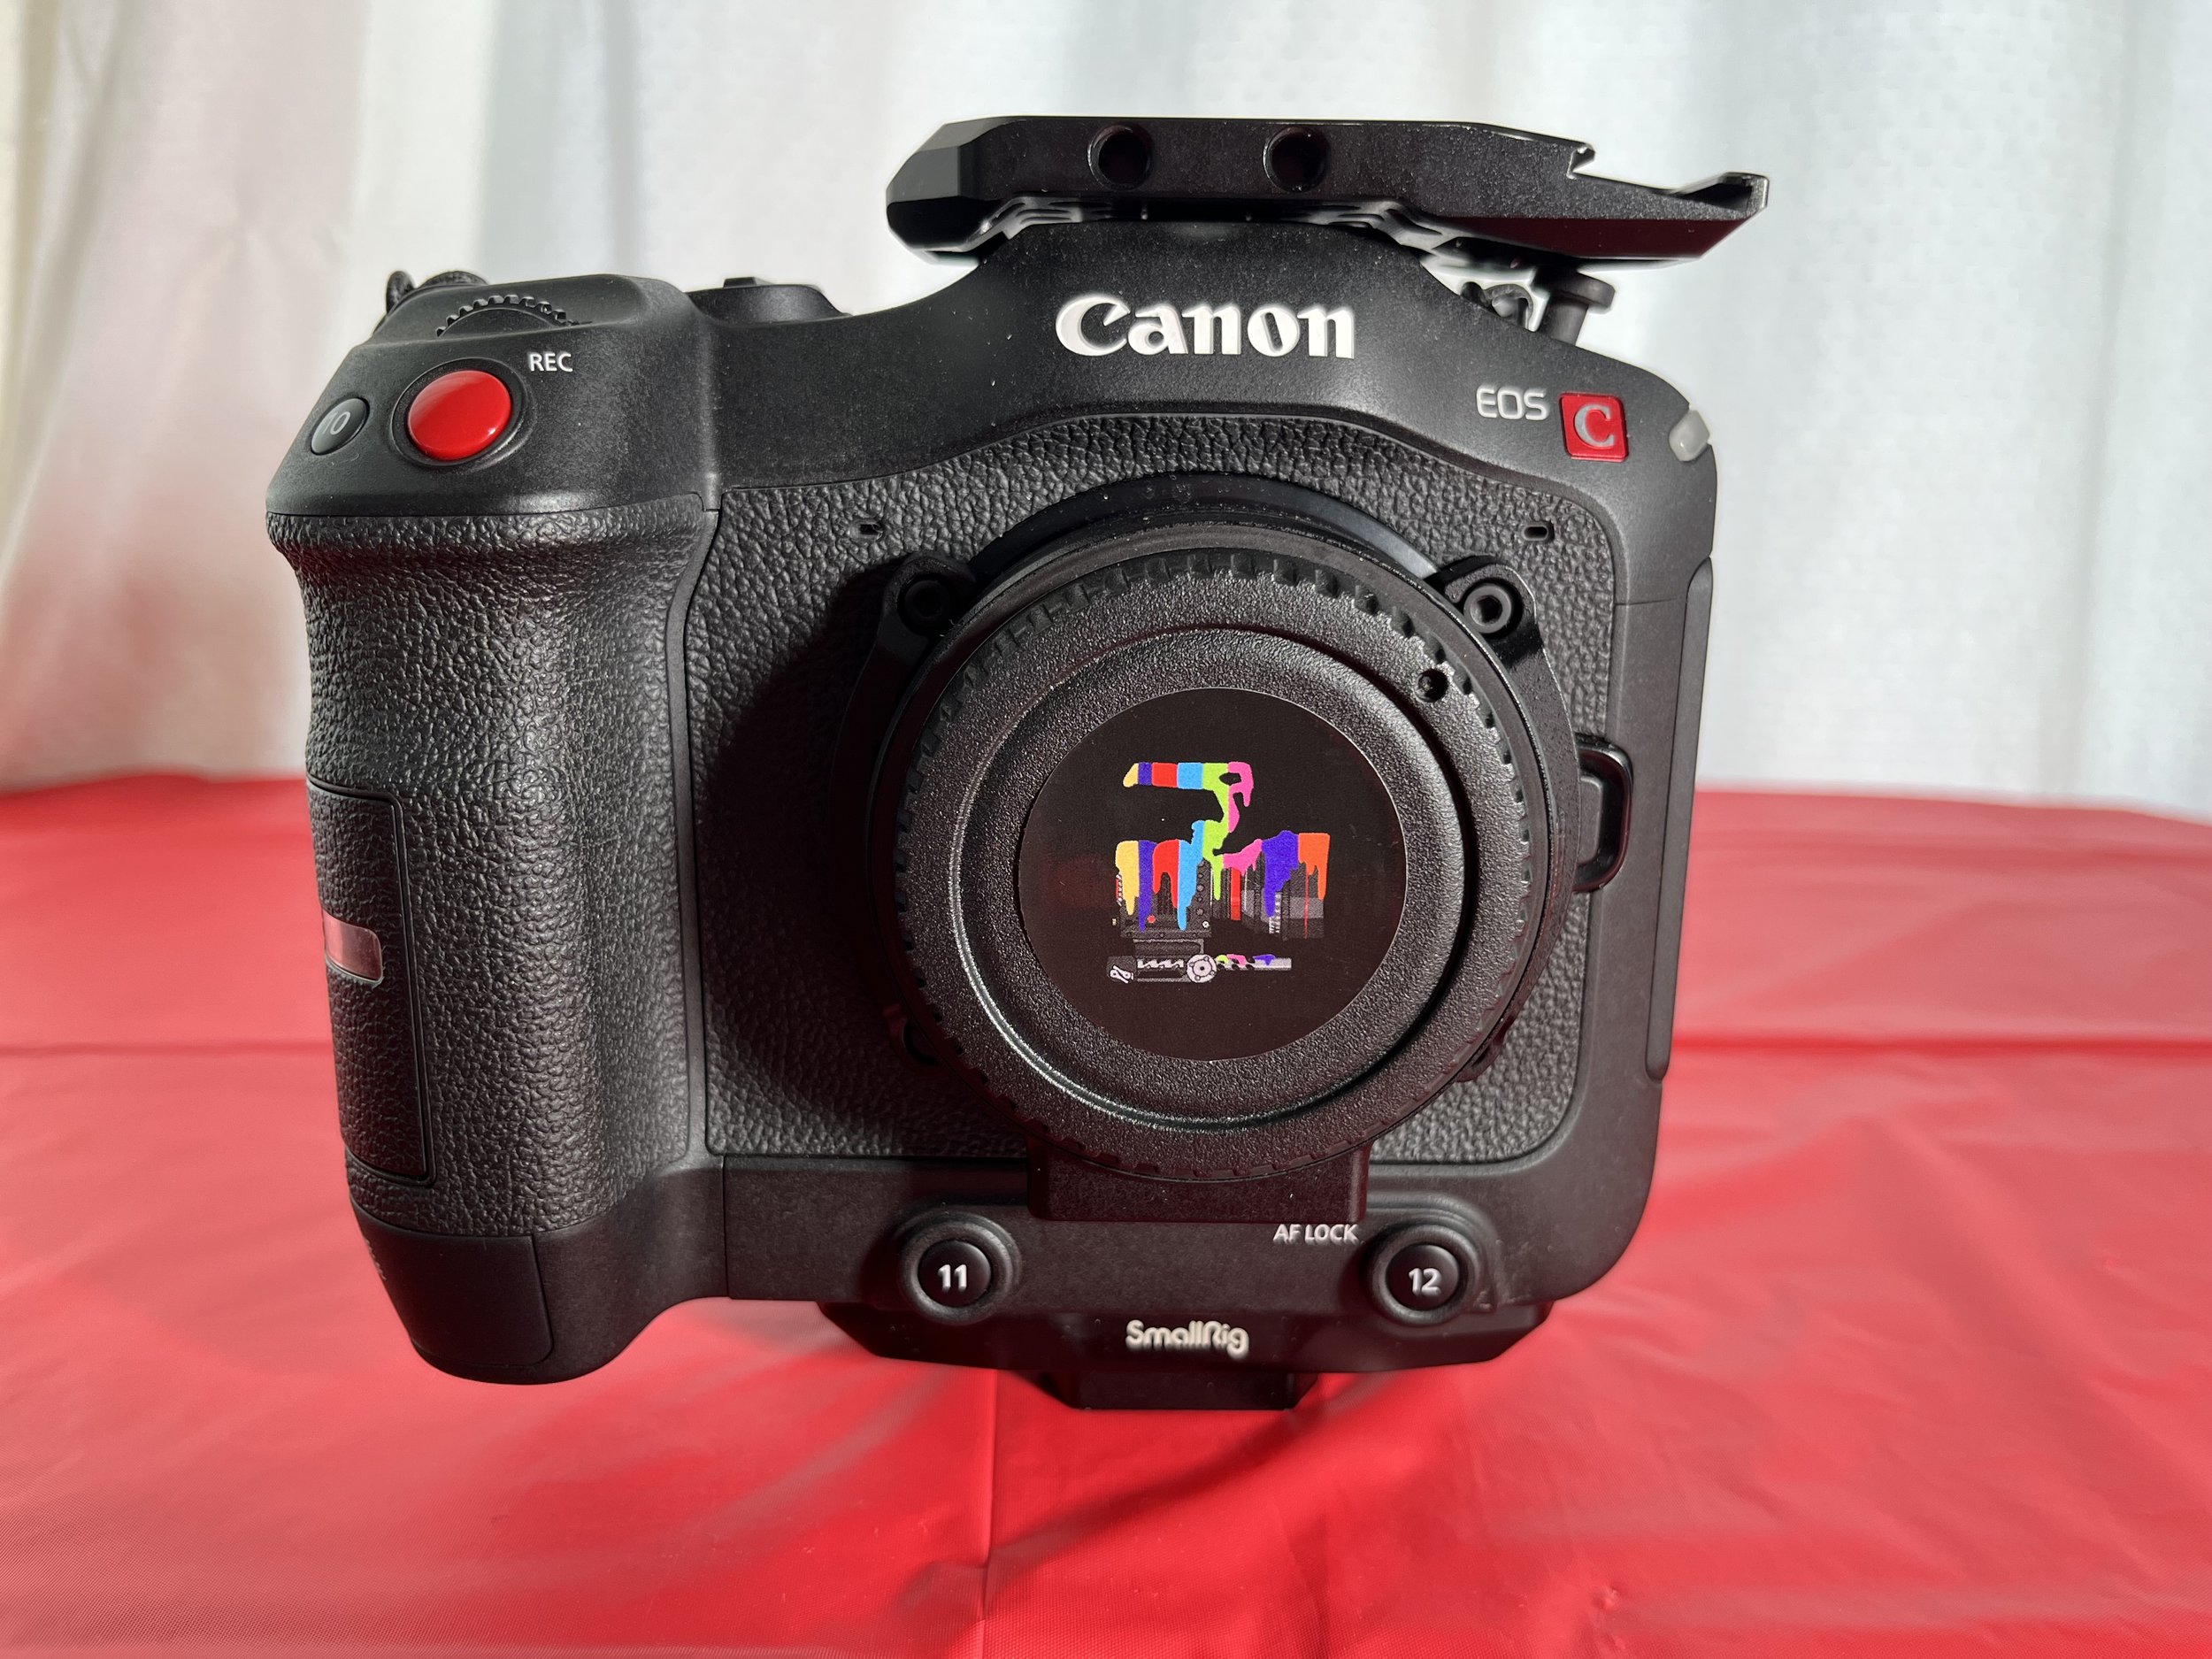
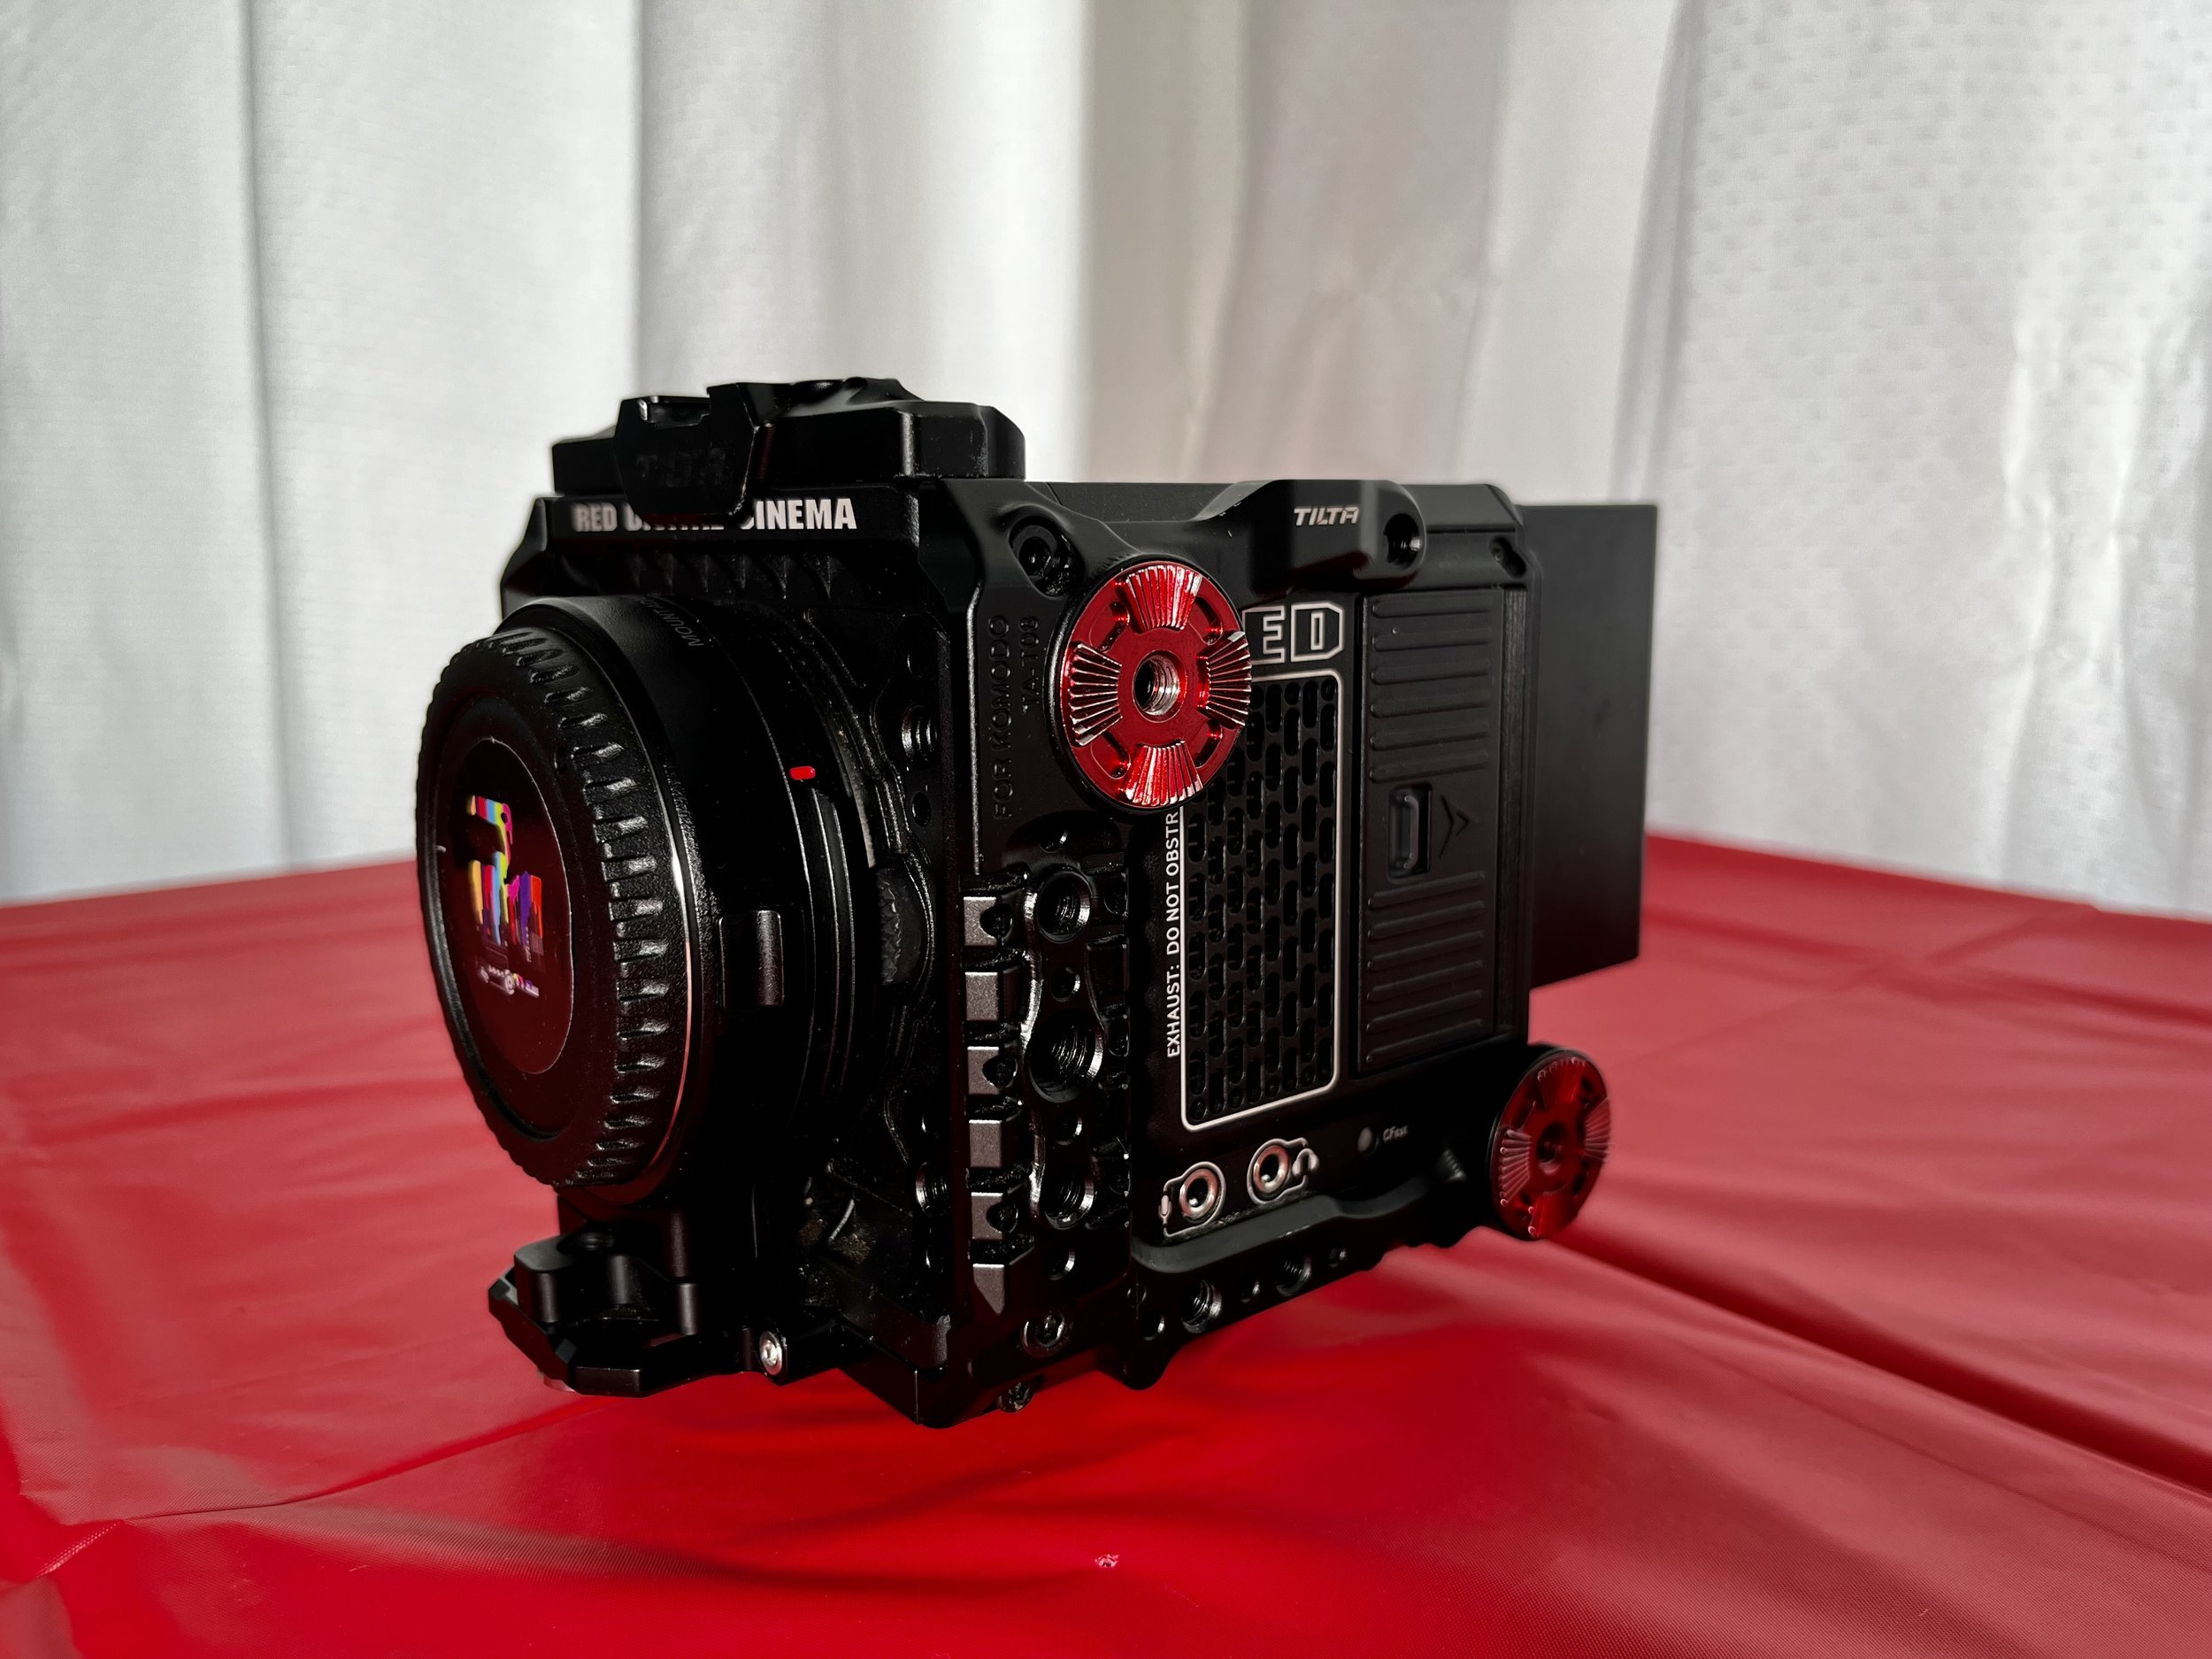
Meet My Lenses For Every Occasion - From Modern to Vintage Glass by Tom Kelly

Lenses are usually seen as better investments then cameras as they are for the most part made using physics and glass rather then computer chips. So a great lens made in the 1970s is still a great lens today but might just have a different look to it. What is better is much more down to personal preference of the user or that particular project.

Below I will take you through my lens collection and give a brief explanation of why I bought them and what kind of projects they would be suited for.

Canon EF Glass

24-70mm F2.8 II, 14mm F2.8 II, 35mm F2, 100mm F2.8 Macro, 50mm F1.2, 70-200mm F2.8 II, 2x Extender III

These lenses are the ones I use the most and often with my Canon C70 camera. They are full frame and work on all my cameras with an adapter. The star of the show being the 24-70mm F2.8 II which I have shot whole projects with just that one lens. It has a useful range from wide to medium with nice smooth bokeh wide open at 2.8.

Canon RF Glass

14-35mm F4 & 70-200mm F4

I have only just bought these as I have been quite happy using my EF lenses with adapters. I got these purely to use with my Canon R5C camera as thats my small B cam for gimbal work. I wanted to have better autofocus performance and lose the need for the adapter which adds to the lenses length. Both these lenses are much more compact and lighter weight then their EF equivalents and benefit further from better autofocus and not needing to use an adapter. They are also pin sharp if thats the kind of look your going for. I have no plans to replace all my EF lenses with these new RF ones however as the EF mounted ones are much more adaptable to different cameras.

Carl Zeiss 1975 Vintage Lenses

25mm F2.8, 35mm F2.8, 50mm F1.4, 85mm F2.8 & 135mm F2.8

This was my home project during the covid lockdowns. I researched these Carl Zeiss lenses (originally with Contax mounts) and how to adapt them to EF mount and for cinema use by adding focus gears onto them. I decided I wanted a whole set from the same year, 1975. They also all have the same filter size of 55mm so they make a great set. It was very nerve racking taking these old lenses apart to re-mount them but they all work great. To finish the kit off I bought a 1970s briefcase and hired a company to adapt it into a lens case. I am quite proud of this set and they are often used on music videos and vintage fashion films. Here is a link to a film shot using this set. - Vintage Clothing Fashion Film with Khari Holland

Canon CNE Cine Prime Set

24mm T1.5 , 50mm T1.3 & 85mm T1.3

These are the lenses I lusted after for around 5 years before I could afford them. They are the lenses I use for my most important projects and the ones that impress clients the most. I love them and despite many offers, I would never sell them. Here is a link to my short film shot with this set - Terror London

Vazen X1.8 Anamorphic RF Lenses

28mm T2.2 & 65mm T2

I window shopped for anamorphic lenses for years and years before finally this year opting for the Vazens. They have true anamorphic character with a slight vintage look and come in RF mount which fits all my cameras I own currently. I love the 28mm as its small and light enough to be used on a gimbal while the 65mm big brother has really beautiful anamorphic bokeh for head-shots. The Vazens have the iconic Sci-fi horizontal blue flares and I can’t wait to use them on a project. I think they would be most suitable for feature films but any project that wanted that distinct anamorphic look could benefit from them.

Leica R Lenses

28mm F2.8, 50mm F2 & 90mm F2

My newest purchase bought mainly to go with my new ‘1981’ Leica film camera. These lenses are famous of course and for good reason. They sit between my 1975 Carl Zeiss lenses and my 1990s-early 2000’s Canon EF glass for their look. The 90mm is late 70s and the 28 and 50 are from the mid-1980s. They still look vintage like the Zeiss but have a warmer and more refined look to them. They have a very long focus throw and have half stop aperture clicks. They are also just beautiful objects in their own right. I bought them mainly for stills but can put them on any of my video cameras with my Leica R to EF adapter giving my clients another option to shoot their projects on Leica glass.

If you have any questions about my lenses or if your interested in renting them please get in touch via info@tomjkelly.com

TJK.

THE FLEET - MEET MY DIGITAL CAMERA COLLECTION by Tom Kelly

Lots of professionals say the camera is just a tool and it doesn’t matter what one you use if you have talent.  I agree with the sentiment of that but I have loved cameras since I was very young and a camera will always be more than just a tool to me.  They are magic boxes capable of capturing beautiful memories both from the real world and also from our imaginations. I love holding them and I love owning them.  

Me with a camera around 2 years old.

Below im going to take you through each digital camera I own, going through why I bought it and how it fits into my productions and workflow.

Canon EOS C70

I bought the C70 during the covid lockdown at a time when I was trying to downsize my kit.  This camera replaced my Sony FS7 as my workhorse camera that has a great image, XLR inputs for good sound and most importantly internal ND filters up to 10 stops.  I was shooting Canon EF glass on my FS7 with a speed booster so moving over to a Canon camera with its better out of camera colours and useable autofocus was very much a no brainer for me.  I use this with the speed booster making it a full frame EF mount camera.  75% of my work is done using this camera.  

Canon R5C

This camera was bought mainly as a B camera for the C70 seeing as it shoots the same colour profiles and file types.  As a bonus it also finally replaces my Sony A7R2 camera that was stolen in Ecuador 3-4 years ago as my main high resolution stills camera.  When filming, this camera spends its life on a gimbal or motorised slider mostly.  It does shoot 8K so would become an A cam for any projects that demand that kind of resolution but im yet to shoot any 8K on it.

Red Komodo

I have owned many Red cameras over they years as I always like using them on feature film projects as I love their RAW workflow and colours. This Komodo replaced my Red Gemini as I no longer wanted to own a camera worth £25K and also liked the Komodo as it was smaller and lighter so fitted into my downsizing ideas.  I use it with the Canon speed-booster  which gives me a slightly larger then full frame (large format) look.  I jokingly call this camera my Mini-Monstro.  I have shot 3 feature films so far with this and it has paid itself off many times over.  The first Red I have ever owned to do so.  Great camera!

Fujifilm X100V

This camera was mainly bought as a compact high quality stills camera with cool film simulations  that could be used as a ‘Behind the Scenes’ camera on larger film productions.  Its a great fun camera to shoot with and gorgeous to look at.  However in all honesty I have only used it as a travel camera so far but for that purpose, it could be my favourite stills camera I have ever owned.  Have never shot any video on it although shooting video with the Fujifilm Eterna simulation would be cool. 

GoPro Hero 11

I have never been a huge fan of GoPro’s and feel they are often overused.  However there’s no denying that for anything near water or mounted to a car or other fast moving object in bright daylight they give you images easily that are hard to get with other cameras.  As long as they are never used at night the image is not awful and has improved over the years.  Im in love with the hyper-lapse mode which I use a lot.    

DJI Mini 3 Pro

And finally….How this camera fits into my workflow is fairly obvious…….aerial shots.  I had a Mini 2 for a while and crashed it flying backwards into a brick wall in London so the Mini 3 caught my eye as it has front and back sensors to stop that happening.  Since flying it I have managed to crash sideways into a tree.  So hopefully the Mini 4 will have side sensors as well! I do still have a certain amount of flying anxiety with all the rules and ease of which drones are to crash. However I only use it on my own productions and never advertise myself as a drone operator.  I have got it out for simple shots on commercial jobs Im DOP on as one quick aerial shot can add value to a project.  I love the images coming off this drone and its also great for stills especially with its vertical mode. Being under 250g means the rules are a lot more relaxed for flying as well. 

Thats a quick breakdown of the cameras I use on my productions. Next I will take you through all the different types of lenses I use including vintage glass! Take care and thanks for reading.

TJK

5 THINGS TO REMEMBER WHEN SHOOTING YOUR FIRST MUSIC VIDEO by Tom Kelly

  • KNOW YOUR STYLE…….Be confident and knowledgeable about your look and style and know what you want to portray. This should be consistent and fit the type of music you produce. The meaning of the song can come into play here as well but its best to have an consistent style that you put through all your video work.

Still from my music video I shot for the Chemical Brothers song ‘One Too Many Mornings’

  • SEE THE IDEA THROUGH…….Many musicians and bands change their mind before a video has been finished. Being too fickle can cost you time and money as reshoots are often similar in price to paying for a video all over again. If you are a solo artist this is far easier to achieve. If you are in a band I suggest hiring a manager before making a music video who can help advise and be your point of contact with the person creating your video.

  • BE BOLD……..A music video is a great chance for you to build your fanbase so try to create a video that has not been done a million times before. Standing out from the crowd is the name of the game here and this can be achieved with elaborate set piece shots, the clothes you wear, lighting and editing techniques. Don’t worry, not everything you do has to be completely original. As long as you take inspiration from many different places and put them together in an interesting way you can find your own unique style.

Still from a short film called ‘Terror London’ I shot in 2019.

  • USE COLOUR………It can be a good idea to build the look of your video using 2-3 core colours. Then any props or costumes can adhere to this colour scheme. This kind of thoughtful production design can really elevate your video above others. This idea can be accentuated using colour grading to complete the look. Ask your shooting director to create a mood board for the video so that everyone is singing from the same hymn-sheet.

  • LOCATION, LOCATION, LOCATION………By far the most important aspect of creating a memorable music video is to find some visually interesting locations to film in. Its important that the location has some contrasting colours as well as details that can enhance the videos mood. If finding amazing locations becomes too difficult then shooting in a more familiar location at night with battery powered lights can make that location look completely different. TJK

A still from a fashion shoot collaboration with Khari Holland, shot in July 2022.

If you would like any more advise or hire me to shoot your music video then feel free to contact me on info@tomjkelly.com. Music Videos

THREE POINT LIGHTING FOR MULTI-CAM INTERVIEWS by Tom Kelly

This form of lighting technique is used to create a 3 dimensional look to the subject and is mostly used in interviews and anywhere where a subject is stationary looking towards the camera. However the principals of 3 point lighting can be applied to other types of filming scenarios as well. This is as long as you understand what each light is doing.

This type of lighting uses three lights (hence the name), your key light, fill light and back light. The key light is where you will light the front of your subject from a slight angle. This is often done with a soft light as its more flattering for peoples faces. The fill light is uses to fill in most of the shadows created by the key light. Usually this is 50% output of the key light to keep some shape to the lighting and not make the image look too flat. The back light or kicker/hair light is placed behind the subject and is used to separate the subject from the background. A hard light is often used so that it can be focused to where you want the light to be. A soft light may produce too much light spill onto your lens reducing contrast. This basic setup can be adapted to taste or the projects needs.

As part of your lighting kit you should have both soft lights and hard lights. In modern terms using LEDs this means having a light panel with attached softbox for a soft light and what’s called a COB light which is a single source light with a fresnel attachment giving you the ability to focus a hard light source. Its also possible to use a COB light with a softbox to create a soft light as well. This flexibility is why COB lights are becoming more and more popular. In essence the larger the light source, the softer the light. so the larger the softbox you buy the softer the light will be but also the more of the lights output you will lose. By contrast a fresnel will increase output by focusing the light to a smaller area.

Soft-Box attachment

Fresnel Light (hard)

Sometimes you may want to use a hard light as a key or fill to create a more edgy look. For example the interview could be part of a documentary about espionage where a more low key lighting look could be suitable. However for the most part a soft-light is used for key and fill. The amount you increase or lower the output on the fill light can give you a subtle stylised look as the more contrast on the face, the more low key and moody the interview will look. If you are looking at an image and want to know how it was lit then looking closely at the eyes will give you this information.

Here you can see the high key light and subtle fill in action. The lower output of the fill light creates a more cinematic look.

When shooting a multi-cam interview its better to have the second camera on the key light side so you have more light . With a slight adjustment to the back light the same basic light setup should be fine. without the need for a fourth light. Experiment with different ratios and lighting setups within these principles and you can adapt your lighting to fit the particular project you are working on. Good luck! TJK

GETTING STARTED AS A COLOURIST - 5 Steps To Get You Going... by Tom Kelly

  • COMPUTER……Of course having a relatively fast computer will help you as working with proxy workflows is less useful with colour grading then it is for editors. This is because when colour grading the footage you want to see the full quality of the file and have all the colour information so you can make informed decisions when grading. So if you can buy a system that’s no more than a few years old you should be fine.

  • DAVINCI RESOLVE…….Im biased because this is what I use however its commonly used throughout the industry and the basic version is completely free to download and start using. What I did is used the free version until I had earned the money needed for the studio version through my colour grading work. Another tip I would say is that the makers of this software Blackmagic Design offer a training course and exam that you can take making you a certified end user of DaVinci Resolve software. I did this and not only do you learn lots about the software and colour grading in general but being certified shows potential clients your efficiency at being a colourist.

  • CONTROL SURFACE……Or balls! This is the one item that will make you look more like a professional colourist then any other. While colour grading you often have to grade many many clips in a day and have physical controls can really speed up your workflow. Blackmagic Design make their own ones which are probably the best ones to use with DaVinci Resolve however I decided to buy a Tangent Ripple which is made by a British company and the benefit of this one is you can use it within other editing systems to grade there and not only DaVinci Resolve like the Blackmagic one.

Tangent Ripple

  • CONTROL AMBIENT LIGHT……Its very important to control the lighting in the room that you are colour grading. This is because our eyes are very sensitive to changes in the colour of the light and will adjust your perception of colour. Obviously what you don’t want is your grading to be different at the start of the day to the end of the day because theres a large window in the room your grading in. The solution is to use heavy curtains or blinds and buy a smart bulb. With this smart bulb you can set it to 5600K or 6000K which is fairly neutral and it will stay like that for as long as you are grading for. The smart bulb I bought was from a company called LIFX and they have a great app that makes everything really easy.

LIFX Bulb

  • MONITOR……Finally probably the most important thing is to have a reliable monitor that is calibrated correctly. As this is what you will be basing all your creative decisions on so it better be accurate. Spending a bit of money on a monitor that is designed for either colour grading, photoshop or graphics work will cost more but will be better in the long run. Calibrating the monitor from time to time will also help and theirs many tools that allow you to do that yourself. The thing to remember is that you can’t control what screen people choose to watch your film or content after you have finished grading it. Thats why its good to check what your grade looks like on popular consumer products like ipads and tv screens to make sure its in the ballpark on all of these. Another last tip is to make sure the client giving you notes is using a good display to view your work otherwise you could be singing from two different hymn sheets.

So that’s all I have for now. Let me know your thoughts down below…..TJK Colour Grading